


[ad_1]
Last month I was invited into a local preschool’s Makerspace to do a project with their 4 and 5yr olds. I decided to use the materials they had collected for the space, which was lots and lots of recyclables, plus I brought in a few of my own goodies and we made recycled collages! Let me tell you all about the materials and the process.
[ I am a participant in affiliate programs designed to provide a means for bloggers to earn small fees at no cost to you by linking to Amazon.com and affiliated sites. ]
Supplies needed for Recycled Collage Making with Preschoolers:
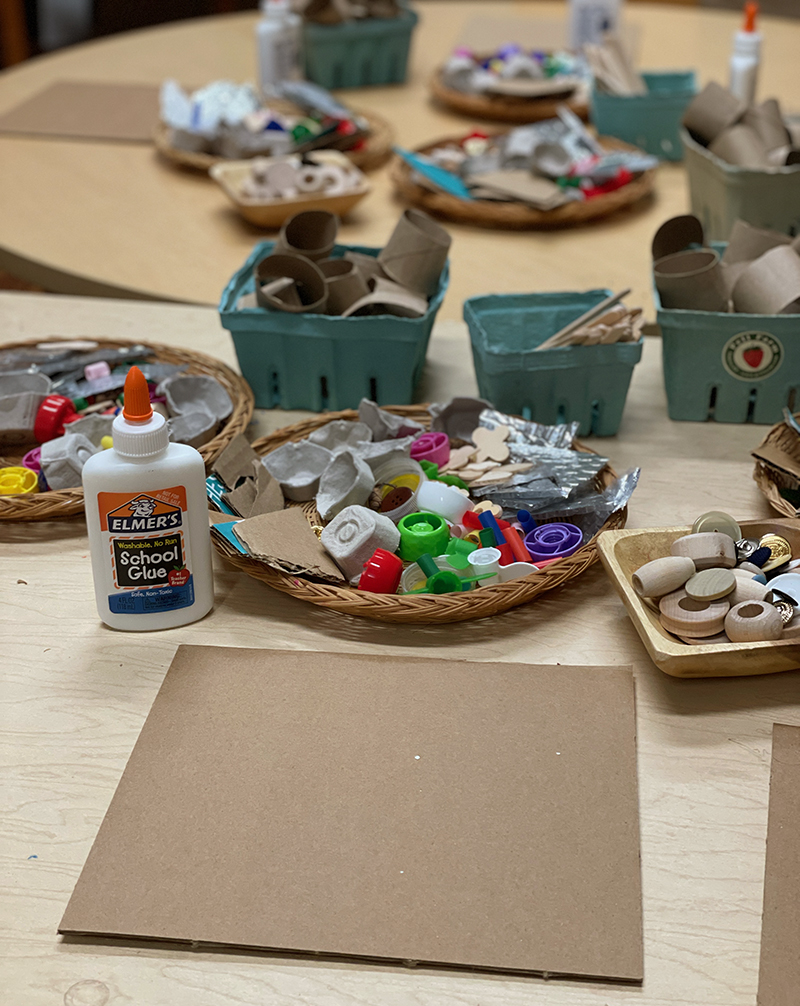
~ Cardboard pieces, one for everyone (ours were about 10 x 10 inches)
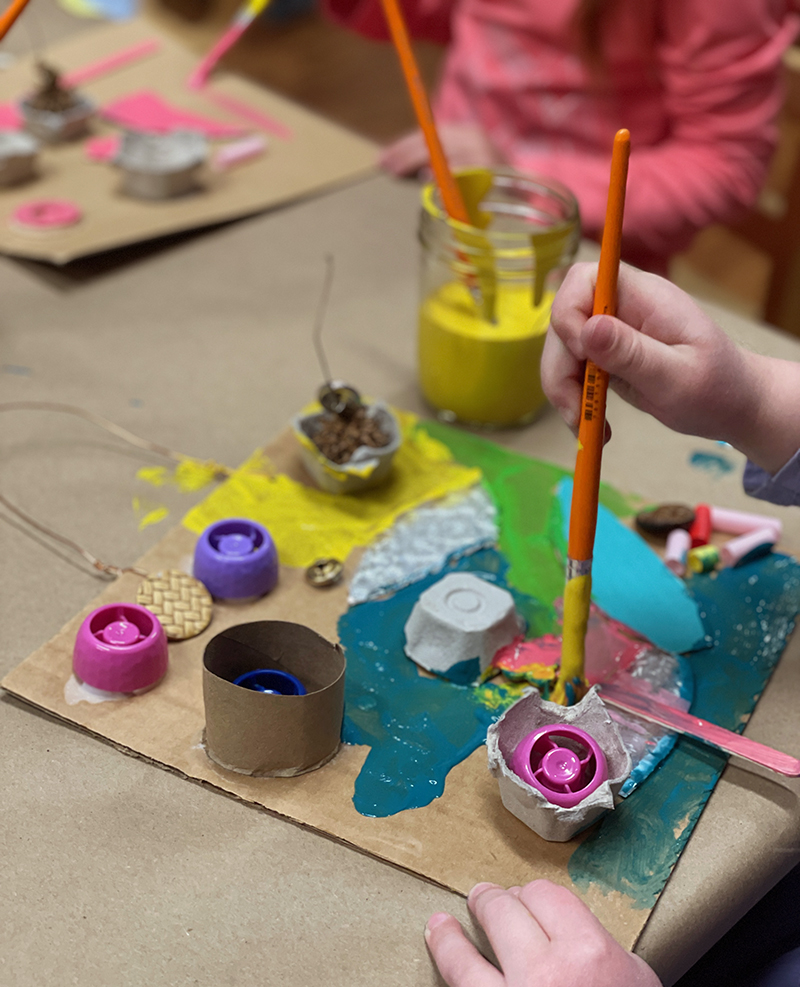
~ An assortment of small, recycled materials such as: cut up toilet rolls, small pieces of cardboard, bottle tops, cut up egg cartons, wooden beads, buttons, corks, bubble wrap, popsicle sticks, cupcake liners, pine cones
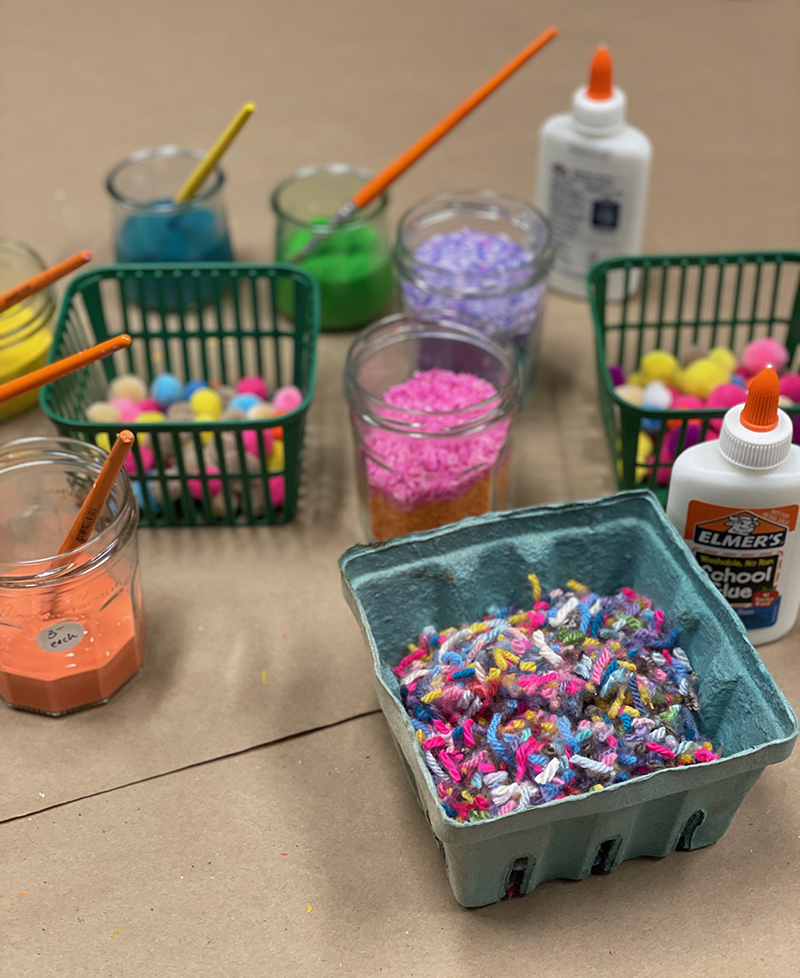
~ Small plates, trays, and containers to display materials
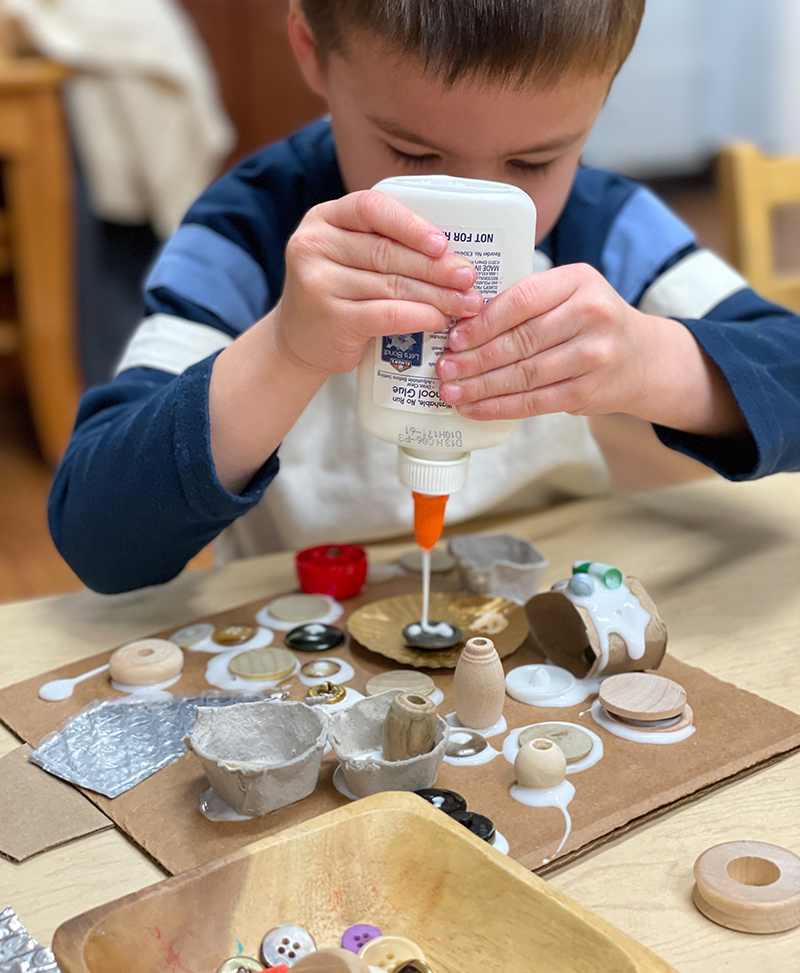
~ White school glue (make sure they all work perfectly and are not clogged)
~ Tempera paint
~ Jars with lids for paints (we love to use the Bonne Maman jam jars)
~ Soft brushes (I like Royal)
~ Embellishments like dyed rice, yarn clippings, and pom-poms
~ Hole punch (1/8″)
~ Craft wire (18 gauge)

Process for Recycled Collage Making with Preschoolers:
1. Spend some time collecting materials. Enlist friends, family, co-teachers to help collect. Once you have an abundance of materials (enough so you never have to ask children to stop making their creations and don’t have to worry about anything running out), find your receptacles for presenting the materials on the table. I love using berry cartons and wicker chargers, but you can use anything you have on hand as long as it’s low-ish and flat-ish. The more the materials are in one layer the better so children can see everything and don’t have to dig around to find something.
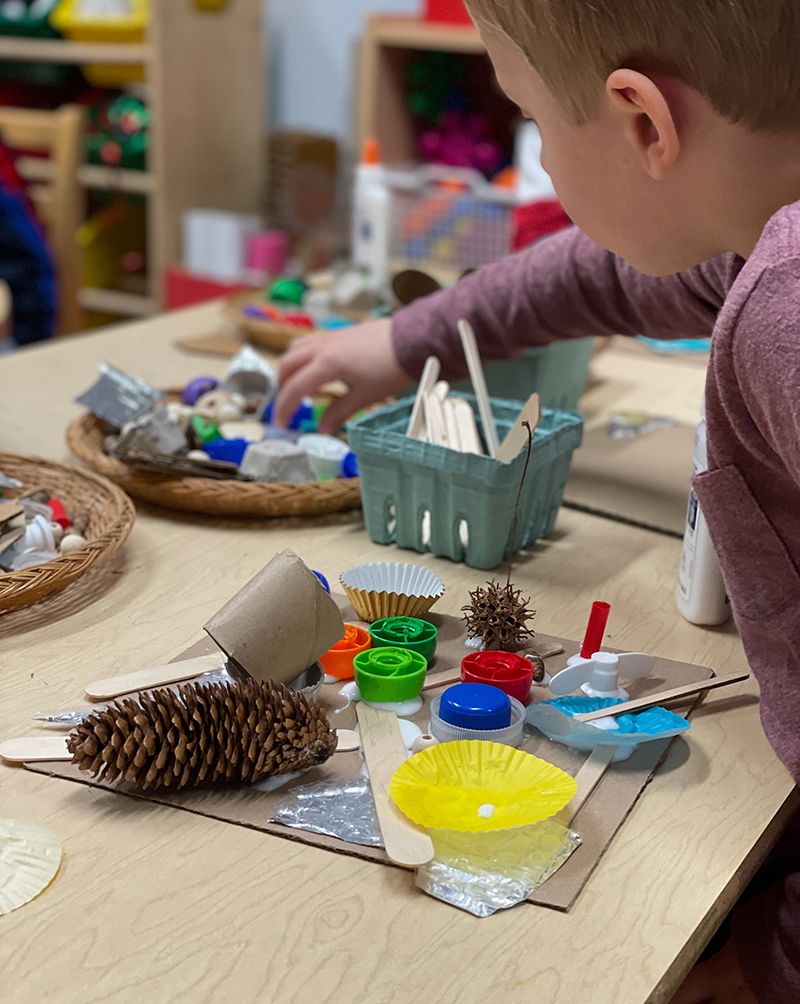

2. We had 6-8 students come into the space at a time, so I made sure they had everything they needed at arm’s reach. I set out three sets of everything, plus they all had their own, newly filled glue.
3. Place a cardboard piece in front of each child. Write their name on a piece of tape and add to the back while they are working.

4. We had half an hour, and most kids were finished by then. For early finishers, have another autonomous activity nearby if you have room, like a block area or chalkboard. Or give them another piece of cardboard if they want to make more.
5. Set out to dry. We did part 2 a week later.


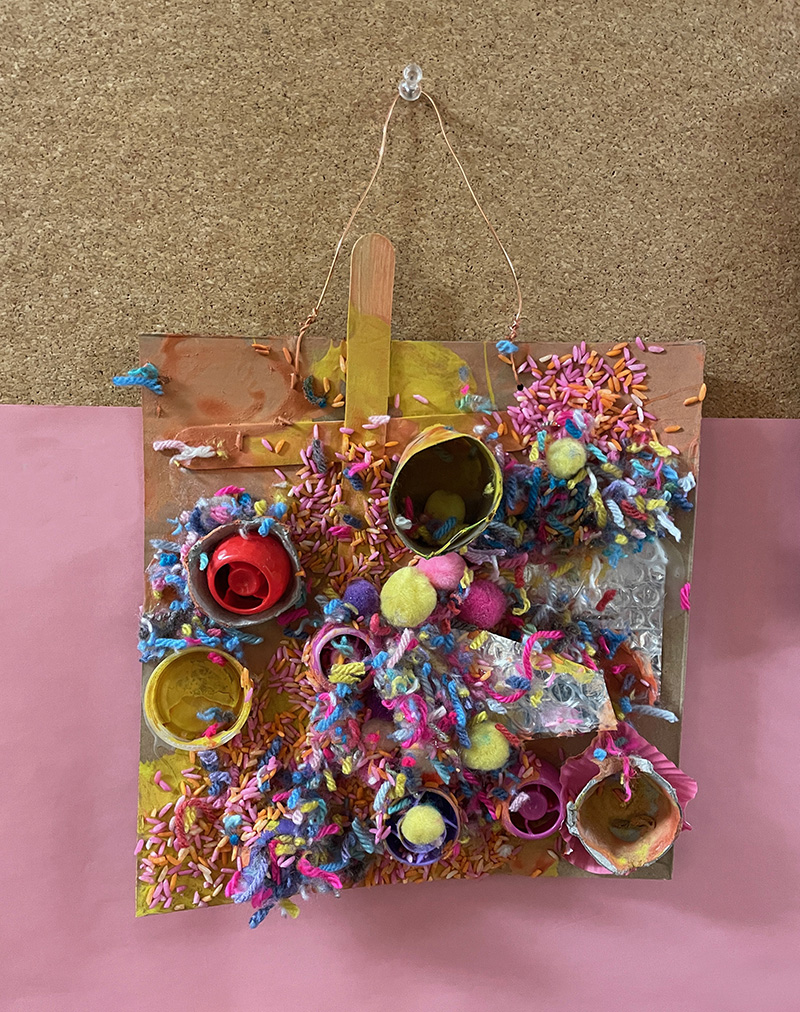
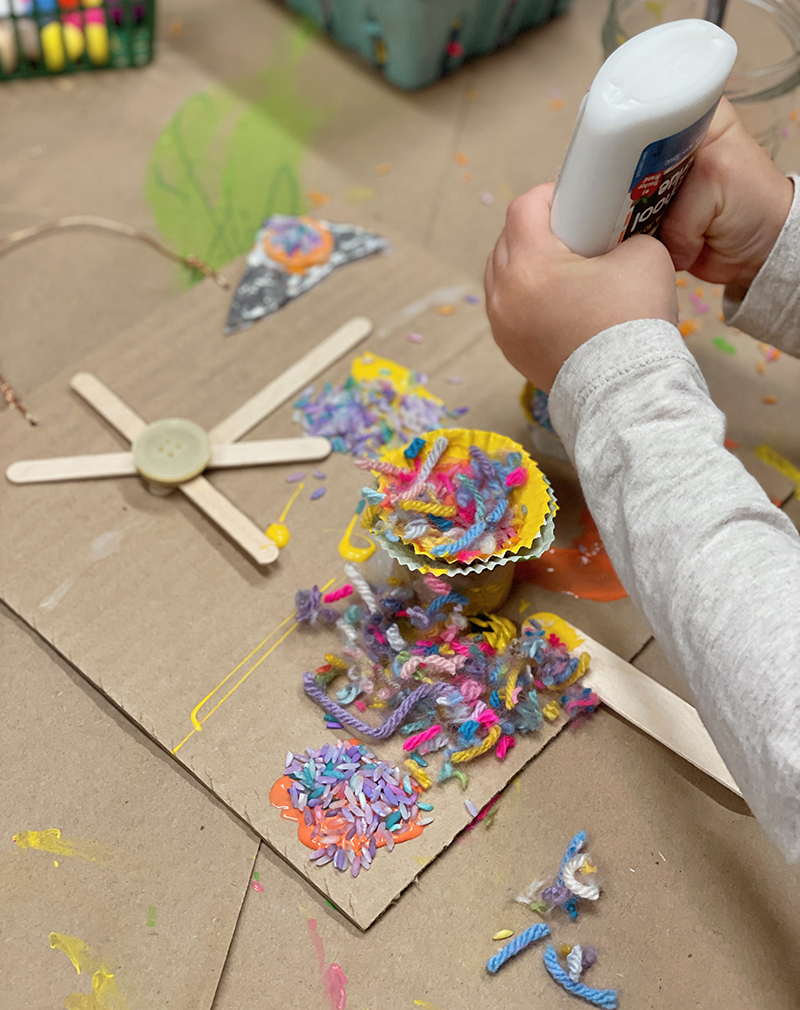
6. When I came back the following week, I brought along some paint that I mixed, plus some dyed rices and yarn bits. I added white to the paint to make it more opaque. And to dye rice, just put white rice in a big ziploc baggie or tupperware. Add a few drops of food coloring or liquid watercolor, and a splash of white vinegar. Shake, shake shake to cover all the rice. Then lay it out on a tray lined with paper towel to dry overnight. I love used colored rice, it gives so much fun texture and can be used in place of glitter.

7. I set out two stations this time with identical materials so every child could reach. If I had more space and time, I might have started with the paint first, then brought out the toppers. But I only had half an hour for part two, so I set everything out at once.

8. Before the children came in, I punched two holes and added the wire. In retrospect, I would add the wire in the beginning next time.
9. I also did plug in a hot glue gun just in case some of the pieces were not glued on properly the week before. I secured everything before the kids came in.
10. I casually suggested that the children start with paint and then add the other materials on top. Some children went back and forth, and some even explored painting on top of the rice. Nothing was off limits!
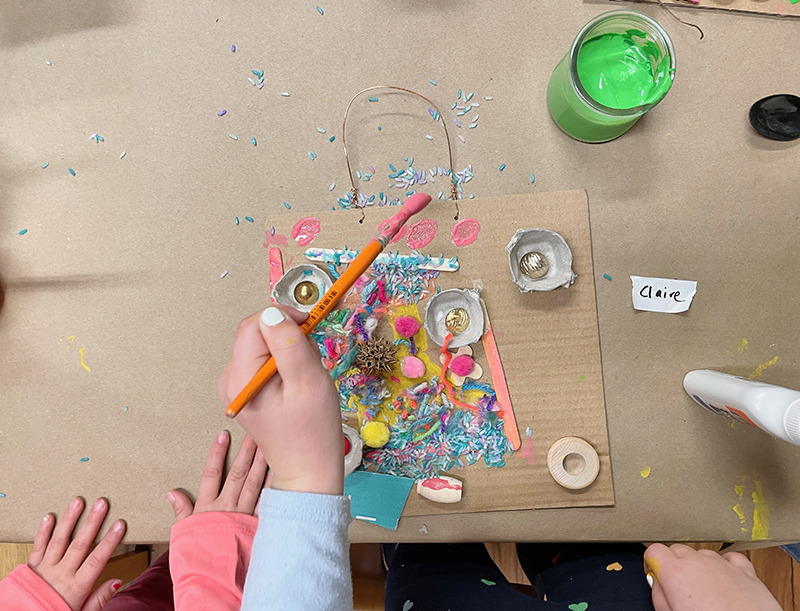

11. Every collage was so unique as each child approached their design differently. As the teacher, there was not much for me to do other than listen to their stories and get to know them. They were full self-sufficient and were able to share materials, take turns, and enjoy the process. This is such a wonderful age because they really still love the process and are not worried about a “product” or comparing themselves to others. I think this age group makes the most creative work.
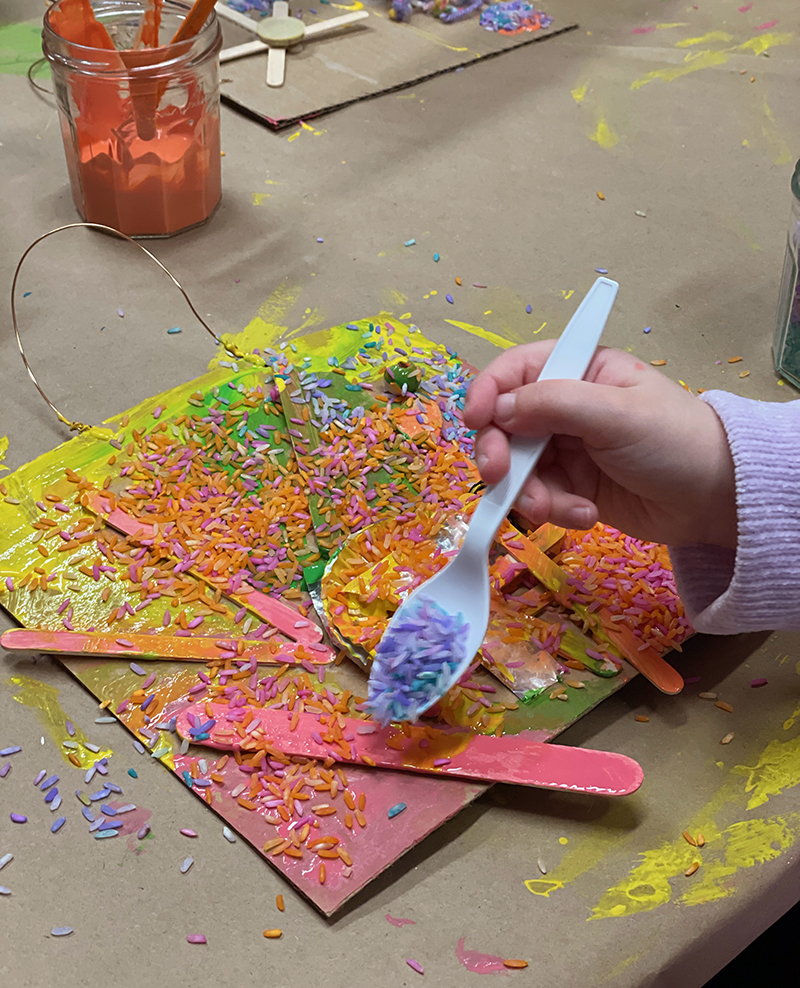

12. Some children really used an abundance of materials. Sometimes as the adult, we have to keep an open and flexible mindset. We can have the urge to jump in and say, ok that’s enough. Because we are used to saving and being conscious of waste. But it’s important to keep our mouths shut and let the creative process unfold — that’s how we allow children to express themselves and build creative confidence!

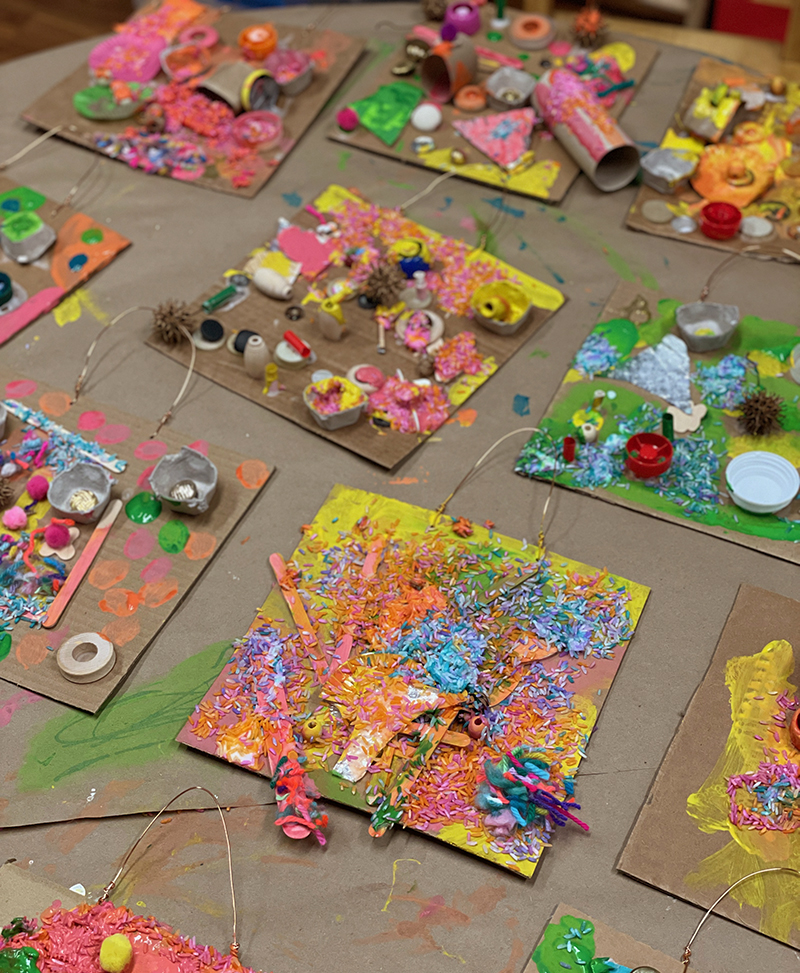
13. These final pieces are so expressive and colorful and exciting! Do you see how wonderful process art is? And how important it is for children to learn all of those social emotional skills.
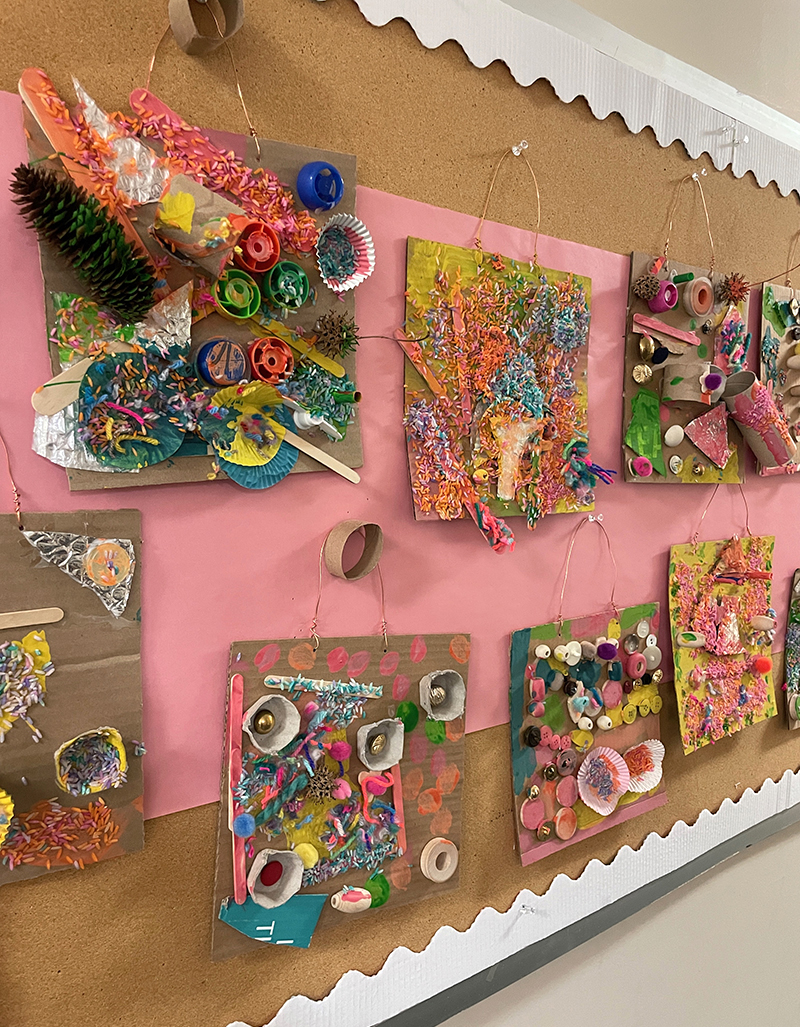

The school director hung their work and I love how she used the pink paper and the white scalloped cardboard. It’s a perfect exhibit for families to see their child’s wonderful creations!
xo, Bar
– – – – – – – – – – – – – – – – – – – –
Did you like this post? Here are some more child-led ideas using recycled materials:

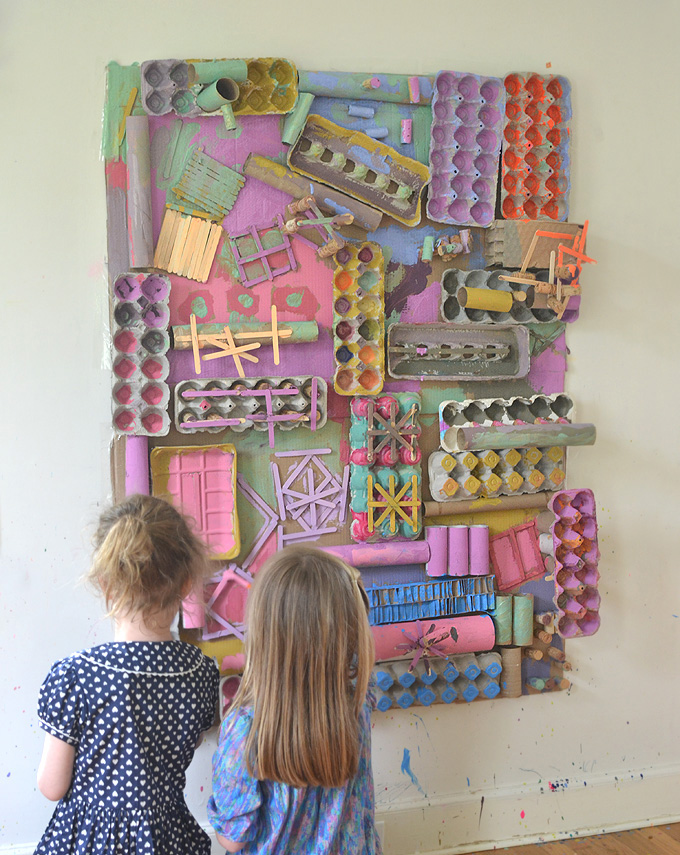
Recycled Wall Art

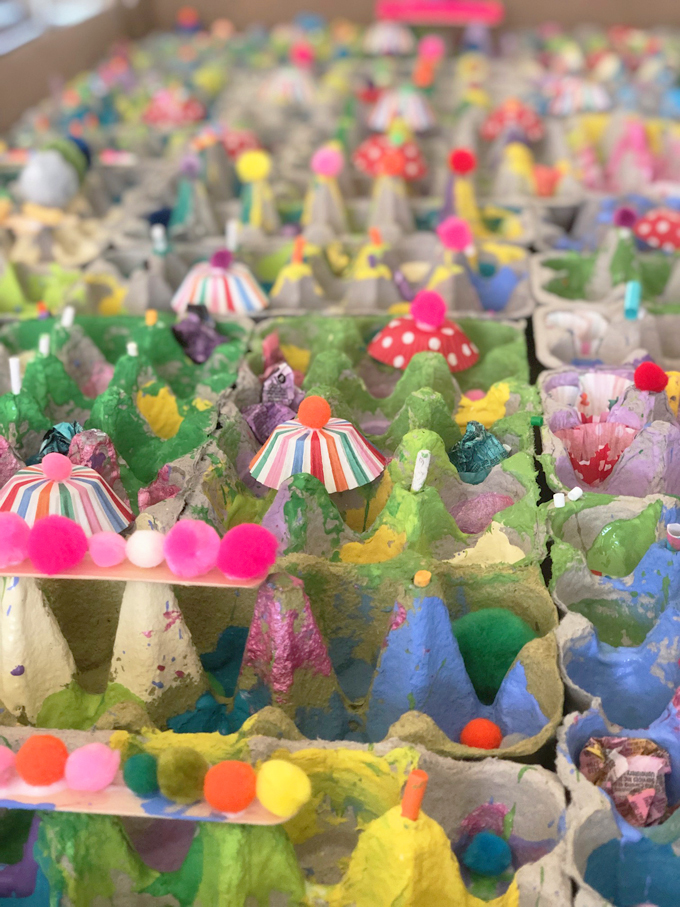
Egg Carton Village

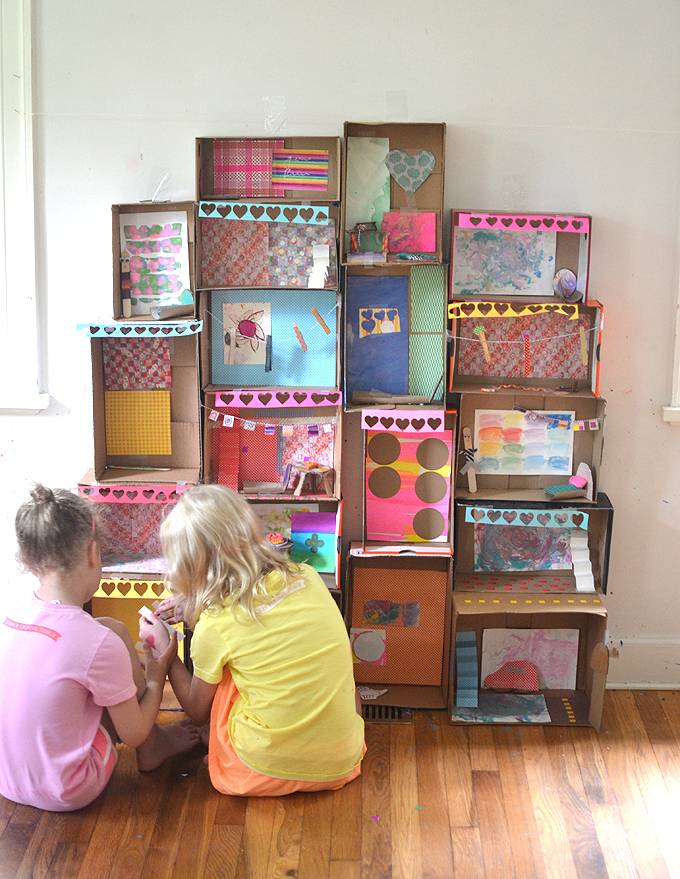
Shoebox Apartment
[ad_2]
Source link